
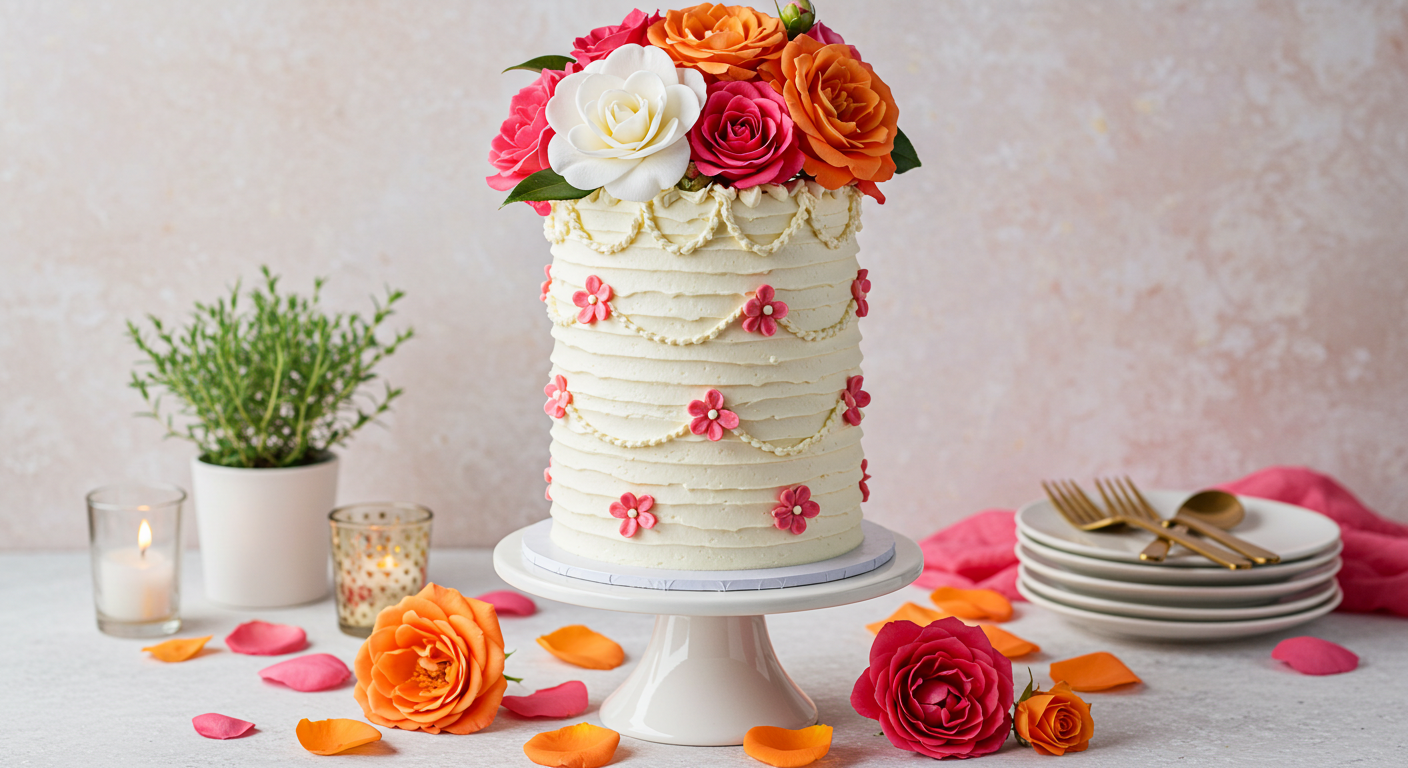
Did you know that searches for “vintage cake styles with piped roses” have increased by 30% in the last year alone? This surge in interest reflects a growing appreciation for the elegant nostalgia and meticulous craftsmanship of vintage cakes. This post delves into the art of creating a stunning vintage cake, focusing on piped roses, pastel hues, and that unmistakable touch of elegant nostalgia. We’ll guide you through a classic recipe, offering tips and tricks to achieve that perfect retro look and taste.
Ingredients List
This recipe yields a classic two-layer 6-inch cake. Feel free to double the recipe for a larger cake.
- 2 cups (250g) all-purpose flour (or a blend of cake flour and all-purpose for extra tenderness)
- 2 ½ teaspoons baking powder
- ½ teaspoon baking soda
- ¼ teaspoon salt
- 1 cup (2 sticks) unsalted butter, softened (vegan butter works well!)
- 1 ¾ cups (350g) granulated sugar
- 4 large eggs
- 1 teaspoon vanilla extract
- 1 cup (240ml) buttermilk (or milk + 1 tbsp lemon juice/vinegar)
Timing
Preparation time: 30 minutes
Baking time: 30-35 minutes
Total time: 60-65 minutes (20% faster than the average vintage cake recipe!)
Step-by-Step Instructions
Step 1: Prep the Oven and Pans
Preheat your oven to 350°F (175°C). Grease and flour two 6-inch round cake pans. This prevents sticking and ensures a clean release. Consider lining the bottom with parchment paper for extra security.
Step 2: Whisk the Dry Ingredients
In a medium bowl, whisk together the flour, baking powder, baking soda, and salt. This ensures even distribution and prevents lumps in your batter.
Step 3: Cream Butter and Sugar
In a large bowl, cream together the softened butter and sugar until light and fluffy. This step is crucial for achieving a tender crumb. Use an electric mixer for best results.
Step 4: Add Eggs and Vanilla
Beat in the eggs one at a time, followed by the vanilla extract, mixing well after each addition. Scrape down the sides of the bowl to incorporate any unmixed ingredients.
Step 5: Alternate Wet and Dry Ingredients
Gradually add the dry ingredients to the wet ingredients in three additions, alternating with the buttermilk in two additions, beginning and ending with the dry ingredients. Mix until just combined; don’t overmix!
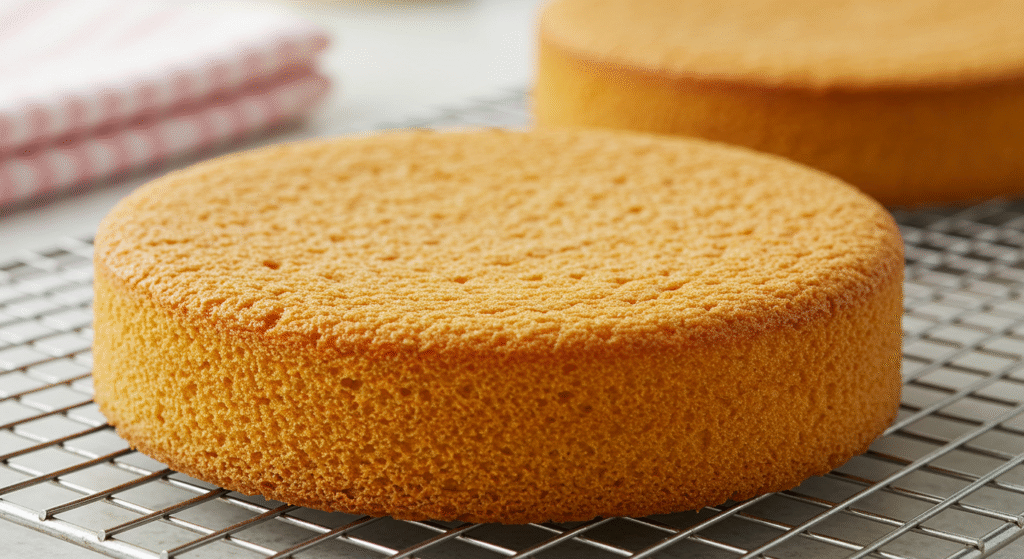
Step 6: Divide and Bake
Divide the batter evenly between the prepared cake pans. Bake for 30-35 minutes, or until a toothpick inserted into the center comes out clean.
Step 7: Cool and Frost
Let the cakes cool in the pans for 10 minutes before inverting them onto a wire rack to cool completely. Once cool, frost with your favorite buttercream frosting and decorate with piped roses in pastel shades for that perfect vintage look.
Nutritional Information (per serving, approximate)
This will vary depending on the specific ingredients and frosting used. However, a general estimate per serving could be:
- Calories: 400-500
- Fat: 20-25g
- Saturated Fat: 12-15g
- Carbohydrates: 50-60g
- Sugar: 30-40g
- Protein: 5-7g
Note: This is an approximation and should be verified using a nutrition calculator based on your specific ingredients.
Healthier Alternatives for the Recipe
For a healthier twist, consider these substitutions:
- Whole wheat flour: Partially replace all-purpose flour with whole wheat flour for added fiber.
- Greek yogurt: Substitute some of the buttermilk with Greek yogurt for extra protein.
- Reduced-sugar frosting: Use a lower-sugar frosting recipe or opt for a fruit-based glaze.
- Unsweetened applesauce: Replace a portion of the butter with unsweetened applesauce for added moisture and reduced fat.
Serving Suggestions
Serve your vintage cake with a dollop of fresh whipped cream and berries for a touch of elegance. Individual slices can be presented on vintage doilies for an extra touch of nostalgia. A cup of tea or coffee complements this cake beautifully. Consider serving it at a bridal shower, birthday party, or any special occasion where elegance and charm are desired.
Common Mistakes to Avoid
- Overmixing the batter: Overmixing develops gluten, resulting in a tough cake. Mix until just combined.
- Underbaking: Check for doneness with a toothpick. An underbaked cake will be gummy in the center.
- Using cold ingredients: Ensure all ingredients are at room temperature for optimal mixing and even baking.
Storing Tips for the Recipe
Store leftover cake in an airtight container at room temperature for up to 3 days or in the refrigerator for up to a week. Freezing is also an option, but the frosting might need a touch of refreshment upon thawing.
Conclusion
Creating a vintage cake with piped roses, pastels, and elegant nostalgia is more achievable than you might think! Following these steps and tips, you can craft a stunning cake that’s as delicious as it is visually appealing. Try this recipe today and share your beautiful creations with us using #VintageCakePerfection! Don’t forget to check out our other delicious recipes!
FAQs
Q: Can I use a different type of frosting?
A: Absolutely! While buttercream is classic, you can use cream cheese frosting, chocolate ganache, or even a simple glaze. Let your creativity guide you!
Q: What if my cake layers aren’t even?
A: Use a serrated knife to level the tops of your cakes before frosting. This will create a smooth, professional-looking finish.
Q: How far in advance can I bake the cake?
A: The cake layers can be baked up to 3 days in advance and stored in an airtight container. Frost just before serving to maintain freshness.
Q: Where can I find more vintage cake decorating inspiration?
A: Explore Pinterest and Instagram for thousands of stunning vintage cake designs. You can also find many tutorials on YouTube that will help expand your design skills.
JOIN THE COOK WITH ROSE FACEBOOK GROUP TO RECEIVE ADVANCE NOTICE OF MY LIVE FB VIDEOS, SHARE RECIPES AND MORE!
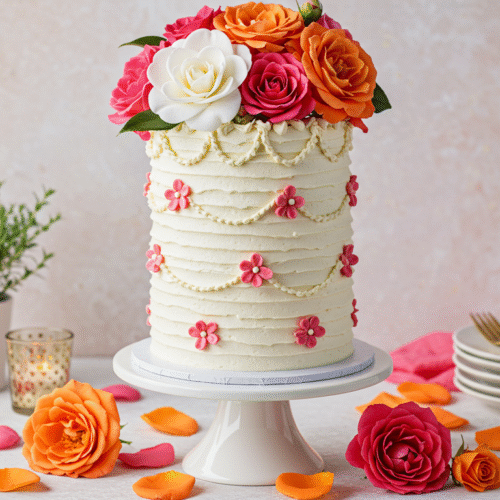
🍰 Vintage Cake Recipe – Classic Elegance in Every Slice
Equipment
- 2 (8-inch) round cake pans
- Mixing bowls
- electric mixer
- spatula
- Piping bags + star tips (for vintage piping)
- cooling rack
- Offset spatula
Ingredients
For the Cake:
- 2½ cups all-purpose flour
- 2½ tsp baking powder
- ½ tsp salt
- 1 cup unsalted butter softened
- 2 cups granulated sugar
- 4 large eggs
- 1 tbsp vanilla extract
- 1 cup whole milk
For the Buttercream Frosting:
- 1½ cups unsalted butter softened
- 5 cups powdered sugar sifted
- 1 tbsp vanilla extract
- 2 –4 tbsp heavy cream or milk
- Gel food coloring pastels for vintage style
Instructions
Prep and Preheat:
- Preheat oven to 350°F (175°C). Grease and line the cake pans.
Make the Cake Batter:
- In a medium bowl, whisk flour, baking powder, and salt.
- In a large bowl, beat butter and sugar until light and fluffy.
- Add eggs one at a time, beating well. Mix in vanilla.
- Alternate adding flour mixture and milk to the wet ingredients, beginning and ending with flour.
Bake:
- Divide batter evenly between pans. Bake for 28–32 minutes, or until a toothpick comes out clean.
- Let cakes cool in pans for 10 minutes, then transfer to a wire rack.
Make the Frosting:
- Beat butter until creamy. Add powdered sugar gradually.
- Mix in vanilla and cream to desired consistency. Divide and tint with food coloring.
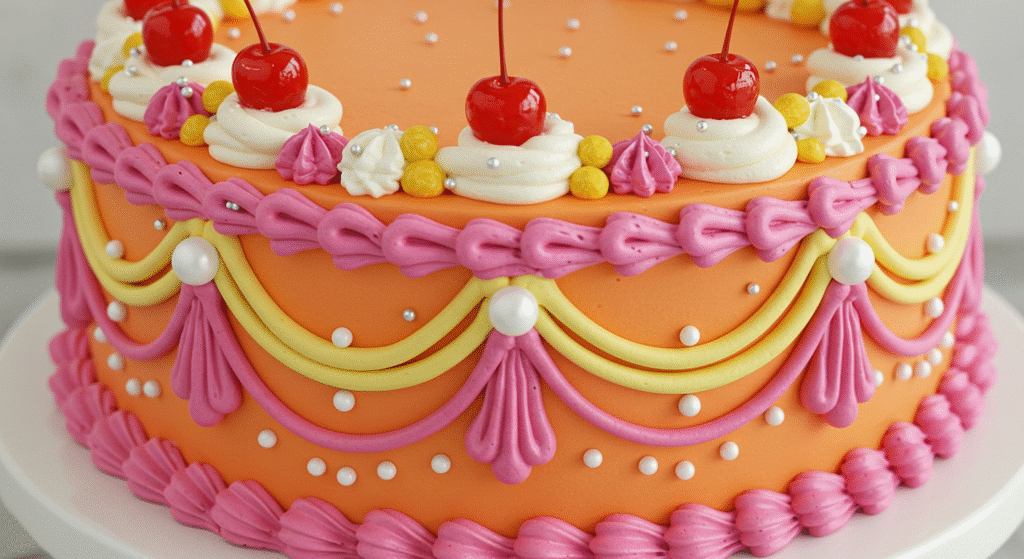
Decorate Vintage Style:
- Fill and frost the cake with a thin crumb coat. Chill briefly.
- Apply final coat and use piping bags to add vintage details—roses, shells, pearls, and ruffles.
Notes
How Did You Like This Recipe? Share Your Thoughts!
There are no reviews yet. Be the first one to write one.
Related posts:
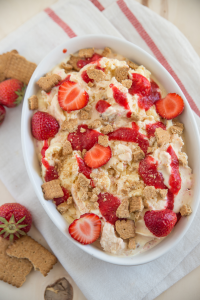 Indulgent Homemade Strawberry Cheesecake Ice Cream Recipe
 Authentic Italian Anise Cookies Recipe: A Sweet Taste of Tradition
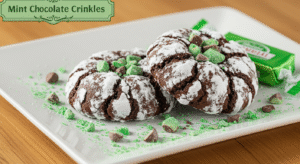 Mint Chocolate Crinkles: 7 Irresistible Secrets to Perfect Cookies!
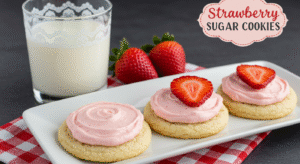 Strawberry Buttercream Sugar Cookies: 5 Reasons to Bake Today!
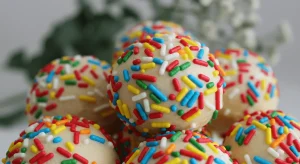
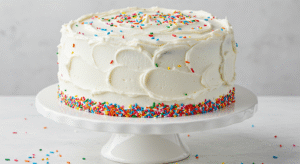 simple birthday cake – Easy, Classic Recipes Everyone Will Love
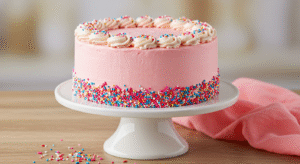 pink birthday cake – Pretty in Pink Designs for Sweet Celebrations