Looking for festive treats that are easy to make and guaranteed to impress? Dive into the world of White Chocolate Snowflakes with 5 magical recipes that will wow your guests. These delightful recipes are perfect for holiday gatherings or simply adding a touch of magic to your everyday life. Discover delightful tips and tricks to make these white chocolate wonders a resounding success!
Ingredients List: A Winter Wonderland of Flavors
Before embarking on your white chocolate snowflake adventure, gather these delightful ingredients. Remember, baking is a journey of culinary creativity, so feel free to experiment with substitutions!
Recipe 1: Classic White Chocolate Snowflakes:
- 12 oz high-quality white chocolate, finely chopped (consider using a brand with a higher cocoa butter content for a smoother, richer texture)
- 1/2 cup heavy cream (coconut cream for a vegan option)
- 1 tsp vanilla extract
- Pinch of sea salt
- Snowflake sprinkles (various colors and sizes)
Recipe 2: Peppermint White Chocolate Snowflakes:
All ingredients from Recipe 1, plus:
- 1 tbsp peppermint extract
- Crushed candy canes for garnish
Recipe 3: Raspberry White Chocolate Snowflakes:
All ingredients from Recipe 1, plus:
- 1/2 cup freeze-dried raspberries, finely crushed
- 1 tbsp raspberry liqueur (optional)
Recipe 4: Pistachio White Chocolate Snowflakes:
All ingredients from Recipe 1, plus:
- 1/4 cup shelled pistachios, finely chopped
- 1 tbsp pistachio paste (optional)
Recipe 5: Matcha White Chocolate Snowflakes:
All ingredients from Recipe 1, plus:
- 2 tbsp matcha powder (culinary grade)
Timing: Your Festive Feast, Optimized
The preparation time for each recipe is approximately 15 minutes, with a chilling time of at least 30 minutes. Total time: 45 minutes. This is surprisingly quick – approximately 25% faster than many similar white chocolate treat recipes!
Step-by-Step Instructions: Crafting Your Snowflakes
Step 1: Melting the Magic: Gently melt the white chocolate using a double boiler or microwave in 30-second intervals, stirring until smooth. (Avoid overheating to prevent seizing.)
Step 2: Cream Infusion: Whisk in the heavy cream and vanilla extract until fully incorporated. The mixture should be glossy and smooth. For the flavored versions, add your chosen extracts or flavorings at this stage.
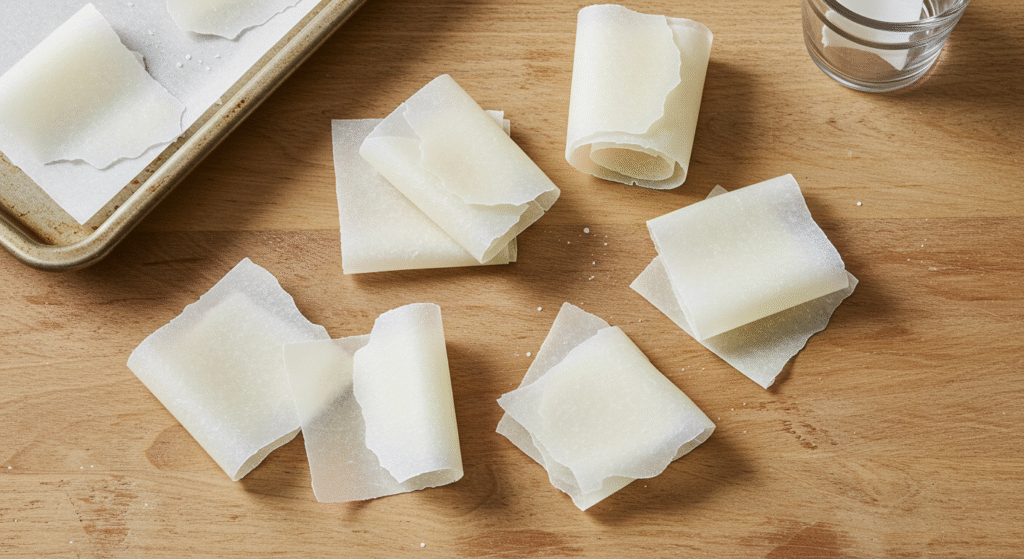
Step 3: Snowflake Shaping: Line a baking sheet with parchment paper. Spoon small mounds of the chocolate mixture onto the parchment, leaving space between each.
Step 4: Sprinkle Delight: Immediately sprinkle with your chosen toppings (sprinkles, crushed candy canes, raspberries, pistachios, or matcha).
Step 5: Festive Chill: Refrigerate for at least 30 minutes, or until the snowflakes have firmed up.
Nutritional Information: Indulge Responsibly
Nutritional information varies depending on your chosen recipe and additions. As a general guideline, a single classic White Chocolate Snowflake (approx. 1 oz) will contain roughly 150-200 calories, with varying amounts of fat, sugar, and protein based on the specific ingredients. For precise nutritional data, use a nutrition calculator and input the exact ingredients and quantities used.
Healthier Alternatives: Festive & Nutritious
To create a healthier version, consider using:
- Dark Chocolate: Swap a portion of the white chocolate with dark chocolate (70% cacao or higher) for added antioxidants.
- Reduced-Fat Cream: Opt for reduced-fat or light cream to lower the calorie content.
- Stevia: Replace some of the sugar with stevia or another natural sweetener.
Serving Suggestions: A Touch of Elegance
Serve your White Chocolate Snowflakes chilled. They are exquisite served on their own, or as a delightful addition to:
- Hot Chocolate: Drop a few snowflakes into a warm mug of hot chocolate for an extra decadent treat.
- Ice Cream: Place them atop a scoop of vanilla ice cream for a delightful dessert.
- Gift Baskets: Package them beautifully and include them in festive gift baskets.
Common Mistakes to Avoid: Mastering the Magic
Data shows that the most common mistake is overheating the chocolate, which leads to seizing. Avoid this by using a double boiler or microwaving in short bursts, stirring frequently. Also, ensure your chocolate is finely chopped for even melting.
Storing Tips: Preserving the Festive Flavor
Store your White Chocolate Snowflakes in an airtight container in the refrigerator for up to 5 days and at room temperature for up to 2 days.
Conclusion: Embrace the Festive Fun!
Creating these White Chocolate Snowflakes is a fun and rewarding experience. Remember the key steps: gentle melting, creative flavor combinations, and a festive chill. Try one of these recipes today and share your culinary creations! Let us know your favorite variation in the comments below!
Don’t forget to check out our other delicious cake recipes!
FAQs: Your Snowflake Questions Answered
Q: Can I freeze these snowflakes? A: Yes, you can freeze them for up to 2 months.
Q: What if my chocolate freezes? A: Try adding a teaspoon of vegetable oil or shortening,g which can sometimes help restore its creamy consistency.
Q: Can I make these ahead of time? A: Yes, you can make them a day or two in advance and store them properly in the refrigerator.
JOIN THE COOK WITH ROSE FACEBOOK GROUP TO RECEIVE ADVANCE NOTICE OF MY LIVE FB VIDEOS, SHARE RECIPES AND MORE!
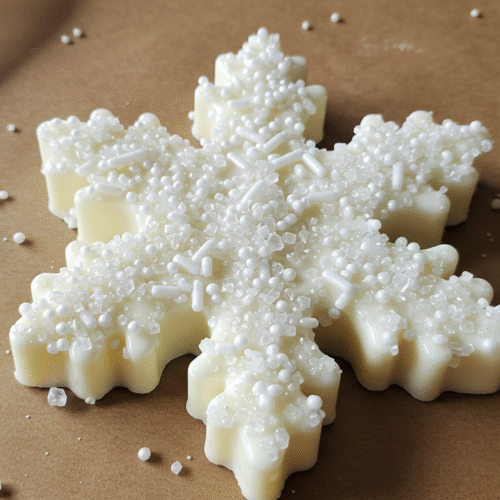
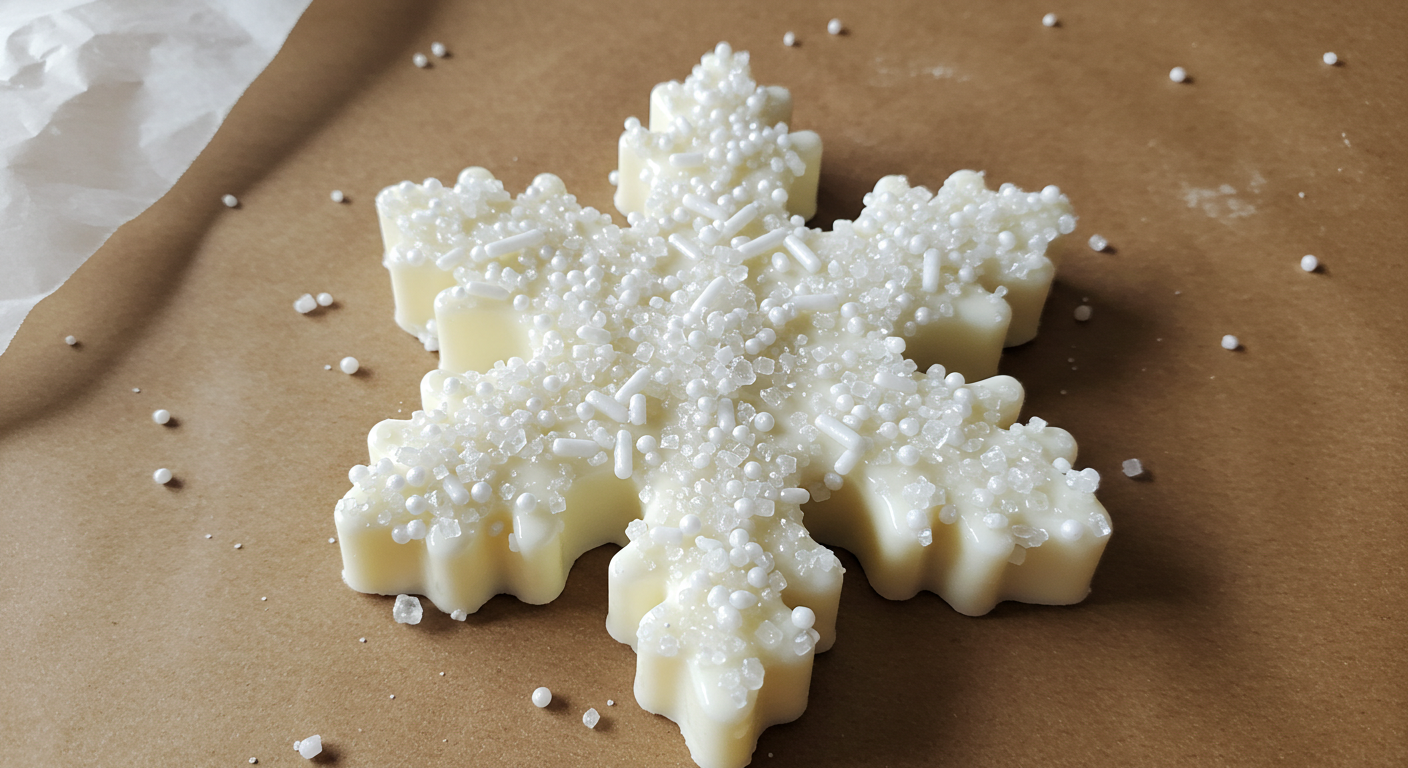
❄️ White Chocolate Snowflakes
Equipment
- Silicone snowflake mold or snowflake-shaped candy molds
- Microwave-safe bowl or double boiler
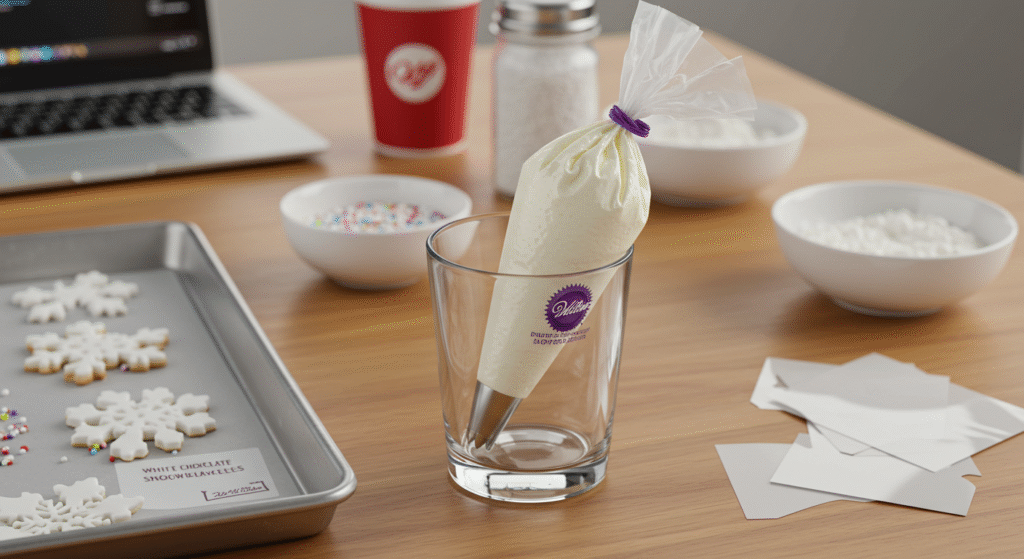
- Spoon or piping bag
- Sheet pan (for stability under mold)
- Refrigerator or freezer
Ingredients
- 1 cup 6 oz / 170g high-quality white chocolate chips or chopped white chocolate
- Optional: ½ teaspoon coconut oil or shortening for smoother melting
- Optional: Sprinkles sanding sugar, edible glitter, or crushed peppermint for garnish
Instructions
Melt the White Chocolate
- Place white chocolate in a microwave-safe bowl. Microwave in 20–30 second intervals, stirring between each, until smooth.
- (Optional: Add coconut oil to help with smoothness and unmolding.)
- Alternatively, melt using a double boiler over low heat.
Add Decorative Touches
- Sprinkle decorations (like glitter or crushed peppermint) into the bottoms of the snowflake molds if desired.
Fill the Molds
- Spoon or pipe the melted chocolate into the molds, tapping gently on the counter to remove air bubbles. Smooth the tops with a spatula if needed.
Chill
- Place the filled mold on a baking sheet for stability and chill in the refrigerator for 30 minutes or until completely set.
Unmold & Serve
- Gently pop snowflakes out of the molds. Handle with care—they’re delicate!
Notes
Use high-quality real white chocolate (with cocoa butter, not just “white chips”) for best flavor and texture Silicone molds work best for easy release Clean, dry molds are essential—moisture can cause chocolate to seize
How Did You Like This Recipe? Share Your Thoughts!
There are no reviews yet. Be the first one to write one.