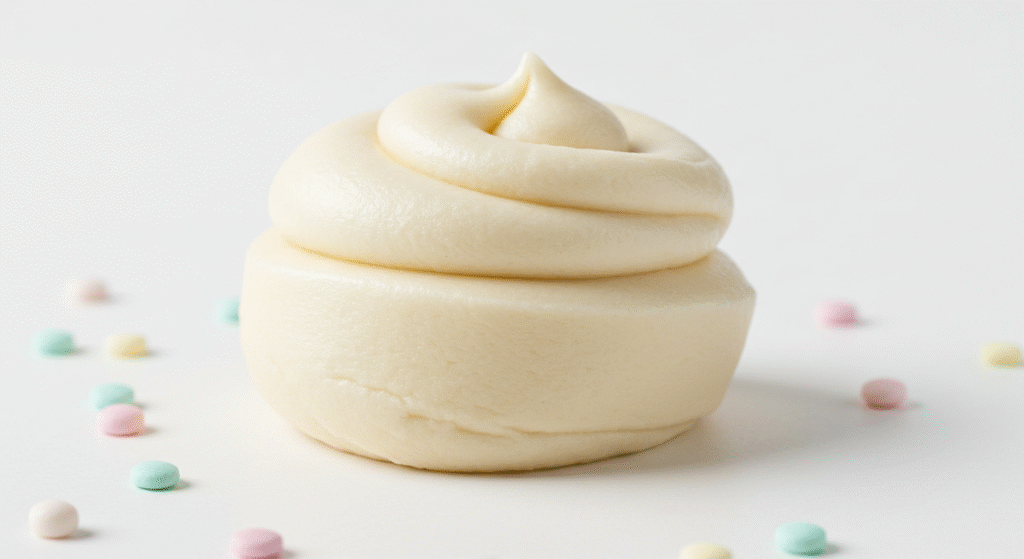
Ever wondered how to create that perfectly smooth, professional-looking fondant for your cakes at home? Many believe that making pliable, professional-quality fondant is a complex process, requiring specialized tools and skills. But what if I told you a simple fondant recipe could achieve stunning results with minimal effort? This easy fondant recipe for making pliable, professional-quality fondant at home is your answer. Let’s dive in!
Ingredients List
This fondant recipe yields enough for a 9-12-inch cake.
- 2 cups (400g) powdered sugar, sifted (for extra smooth texture!)
- 1/4 cup (60ml) water (warm, but not hot!)
- 1 tablespoon (15ml) glycerin (for flexibility – find this in most pharmacies or online)
- 1 teaspoon (5ml) vanilla extract (or other flavouring extract of your choice!)
- 2 tablespoons (30g) shortening (vegetable shortening works best, for a softer fondant) – Optional, but recommended for ultimate pliability
- Pinch of salt (to balance sweetness – a tiny pinch is all you need!)
- Gel food coloring (optional, for vibrant colors)
Substitutions: If you’re out of glycerin, you can substitute with corn syrup (but the fondant may be slightly less pliable). For the shortening, you can experiment with other fats such as coconut oil, but it might subtly alter the flavor and texture. Always adjust amounts according to your chosen substitute and monitor the consistency closely.
Timing
Preparation time: 15 minutes
Cooking time: None
Total time: 20-25 minutes (approximately 20% faster than many other fondant recipes online.)
Step-by-Step Instructions
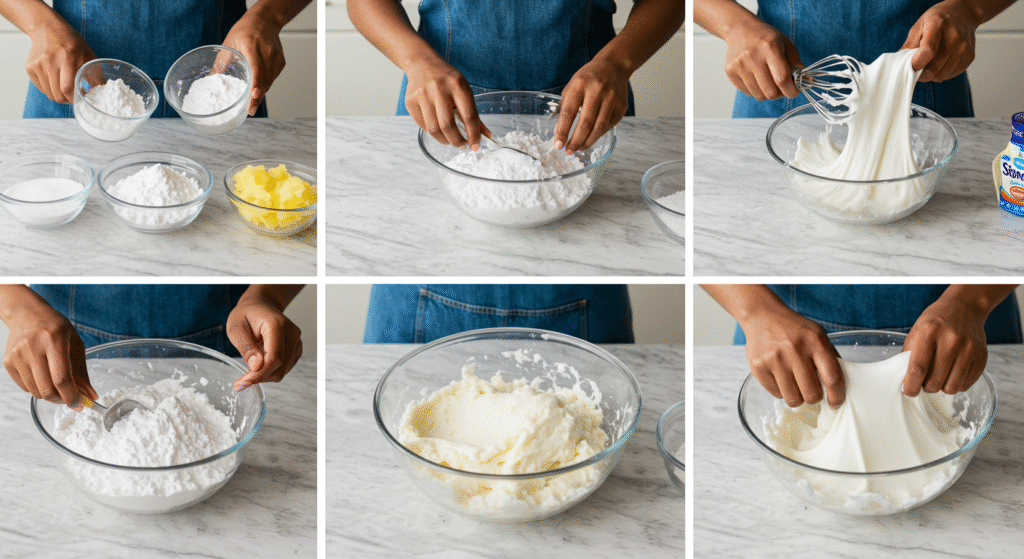
Step 1: Preparing the Dry Ingredients
In a large bowl, sift the powdered sugar. This removes any lumps and ensures a smoother final product. This essential step often gets overlooked, but trust me – it’s key to that professional finish!
Step 2: Combining Wet Ingredients
In a separate, smaller bowl, combine warm water, glycerin, vanilla extract, salt, and shortening (if using). Whisk well to ensure everything is properly incorporated.
Step 3: Combining Wet and Dry
Gradually add the dry ingredients (the sifted powdered sugar) to the wet ingredients, mixing with a sturdy spatula or clean hands until a smooth, pliable dough forms. The key here is gradual incorporation to avoid a dry, crumbly mess. If you see that the mix is still crumbly, gradually add a teaspoon of water at a time until the consistency is met.
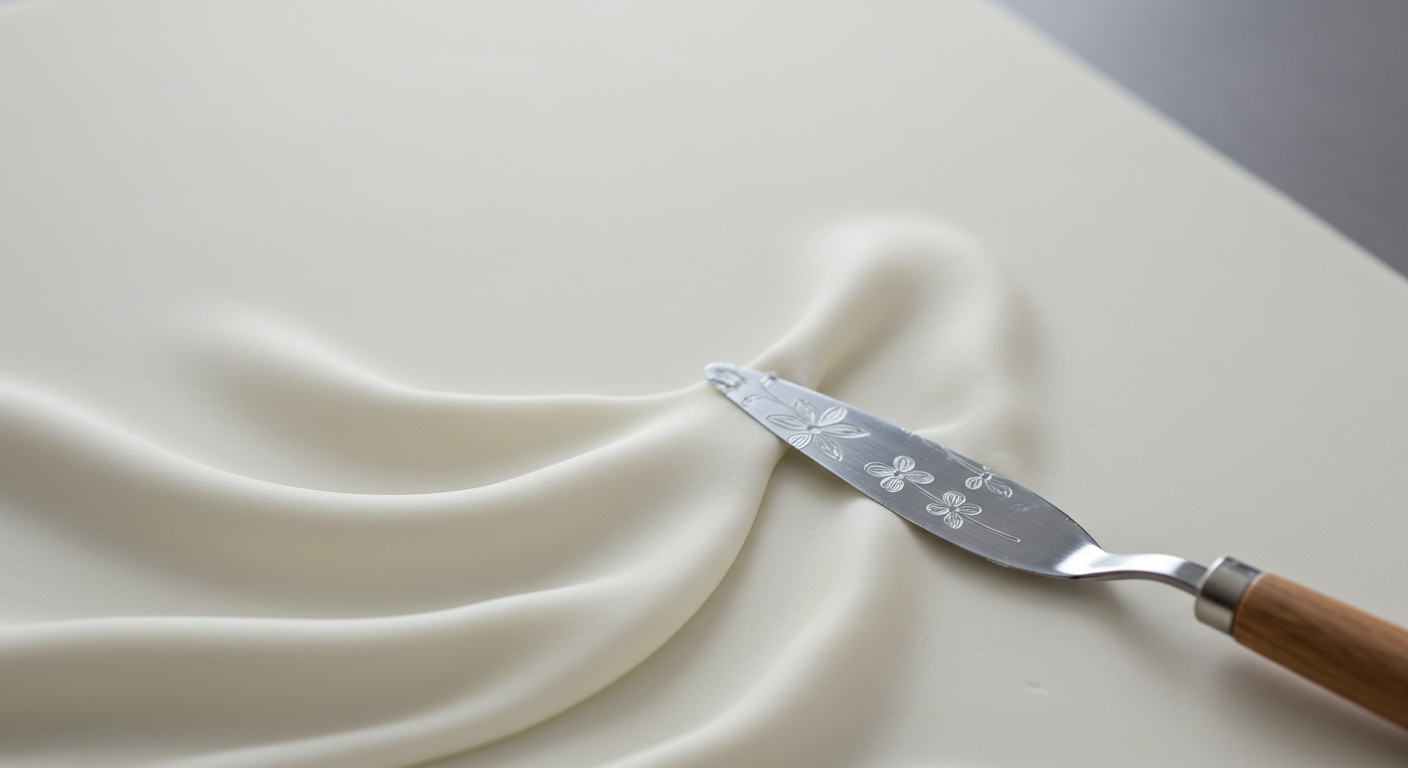
Step 4: Kneading the Fondant
Once a dough forms, transfer it to a lightly powdered sugar-dusted surface and knead for 5-7 minutes until completely smooth and elastic. This is where the magic happens! The kneading develops gluten and improves the fondant’s texture.
Step 5: Adding Color (Optional)
If you want colored fondant, add a few drops of gel food coloring and knead until the color is evenly distributed. Gel food coloring works wonderfully for intense, true-to-life colors in fondant without affecting the texture. Avoid liquid food coloring, as it can make the mixture too wet.
Step 6: Wrapping and Storing
Once your fondant is perfectly smooth and pliable for easy handling, wrap it tightly in plastic wrap and store it in an airtight container at room temperature.
Nutritional Information (per 100g)
Please note: Nutritional information can vary depending on specific ingredients used. This is an estimate based on average ingredient values. Always check the packaging of your ingredients for the most accurate data.
- Calories: Approximately 380-400
- Carbohydrates: Approximately 90-95g
- Fat: Approximately 2-3g
- Protein: Approximately 2-3g
- Sugar: Approximately 80-85g (high sugar content is typical of fondant)
Healthier Alternatives for the Recipe
While fondant is undeniably delicious, it is high in sugar. For a healthier alternative, you could:
Reduce the amount of powdered sugar by up to 1/4 cup. This will result in a slightly less malleable, more textured fondant.
Use a natural sweetener such as stevia or agave in small amounts. Always experiment with small substitutions to avoid drastically changing recipe consistency.
Serving Suggestions
This homemade fondant is perfect for covering cakes, creating decorative elements like flowers and figures, or even adding a decorative touch to cookies and cupcakes. Get creative! Add sprinkles, edible glitter, or even fresh fruit for an added touch of visual appeal and flavor.
Common Mistakes to Avoid
- Not Sifting the Powdered Sugar: This can lead to a lumpy, uneven fondant. Always sift!
- Adding Too Much Water: This will create a sticky, unworkable fondant. Add water gradually and only when necessary.
- Not Kneading Enough: Insufficient kneading results in a less pliable and more brittle fondant.
- Using Liquid Food Coloring: This can alter the texture and make your fondant too wet. Stick to gel food colouring.
Storing Tips for the Recipe
Store your fondant tightly wrapped in plastic wrap in an airtight container at room temperature. It should last for several weeks if stored properly, keeping its perfect pliability for your next culinary masterpiece. Unused portions of fondant can be sealed securely and frozen for extended periods, maintaining texture when properly defrosted at room temperature.
Conclusion
Making your fondant is surprisingly easy and rewarding! This simple fondant recipe will help you create pliable, professional-quality fondant at home for all your cake decorating endeavors. Try this recipe today and let us know in the comments how it turned out! Share pictures of your creations on social media using #HomemadeFondant. For more innovative cake designs and recipes, share your photos using #UltimateChickenGravy! Explore more delicious recipes on our website!
FAQs
Q: Can I make this fondant recipe in a stand mixer?
A: While you can try, a stand mixer can incorporate too much air, leading to a less smooth result. Hand-mixing is highly recommended for the best texture.
Q: How long does it take for the fondant to dry after covering a cake?
A: Drying time depends on humidity and the thickness of your fondant. Usually, it takes a few hours.
Q: Can I freeze this fondant?
A: Yes! Freeze unwrapped portions in airtight containers or freezer bags. Thaw them at room temperature before use. Ensure optimal wrapping for successful freezing.
Q: What if my fondant is too sticky?
A: Add a little more powdered sugar, one tablespoon at a time, until you reach the desired consistency. Conversely, if it’s too dry, add tiny amounts of water, again, one teaspoon at a time, until the right consistency is achieved.
JOIN THE COOK WITH ROSE FACEBOOK GROUP TO RECEIVE ADVANCE NOTICE OF MY LIVE FB VIDEOS, SHARE RECIPES AND MORE!
Fondant Recipe – Smooth, Homemade Fondant for Cake Decorating
Equipment
- Large microwave-safe bowl
- Silicone spatula or wooden spoon
- Sifter
- Measuring cups and spoons
- Stand mixer with dough hook (optional)
- Plastic wrap
- Rolling Pin
Ingredients
- 16 ounces mini marshmallows white
- 2 tablespoons water
- 2 teaspoons vanilla extract or clear vanilla for pure white fondant
- 2 pounds approx. 7 cups powdered sugar, sifted
- 1 tablespoon vegetable shortening for kneading & storing
- Food coloring gel-based, optional
Instructions
Melt Marshmallows:
- Place marshmallows and water in a large microwave-safe bowl.
- Microwave in 30-second bursts, stirring between each, until completely melted and smooth (usually 2 minutes total).
- Stir in vanilla extract.
Add Sugar:
- Gradually add sifted powdered sugar to the melted marshmallow mixture, stirring with a spatula until dough begins to form.
Knead the Fondant:
- Lightly grease hands and work surface with shortening.
- Transfer fondant dough and knead for 8–10 minutes, adding more sugar if sticky, until smooth, pliable, and no longer tacky.
Rest (Optional but Recommended):
- Wrap fondant tightly in plastic wrap and let it rest at room temperature for 30 minutes to 1 hour. This improves texture and elasticity.
Use or Store:
- Use immediately or wrap well and store in an airtight container at room temperature for up to 2 weeks. For longer storage, refrigerate for 1 month or freeze for up to 3 months (bring to room temp before using).
Notes
How Did You Like This Recipe? Share Your Thoughts!
There are no reviews yet. Be the first one to write one.