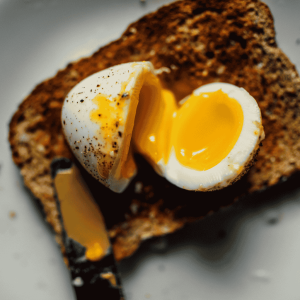
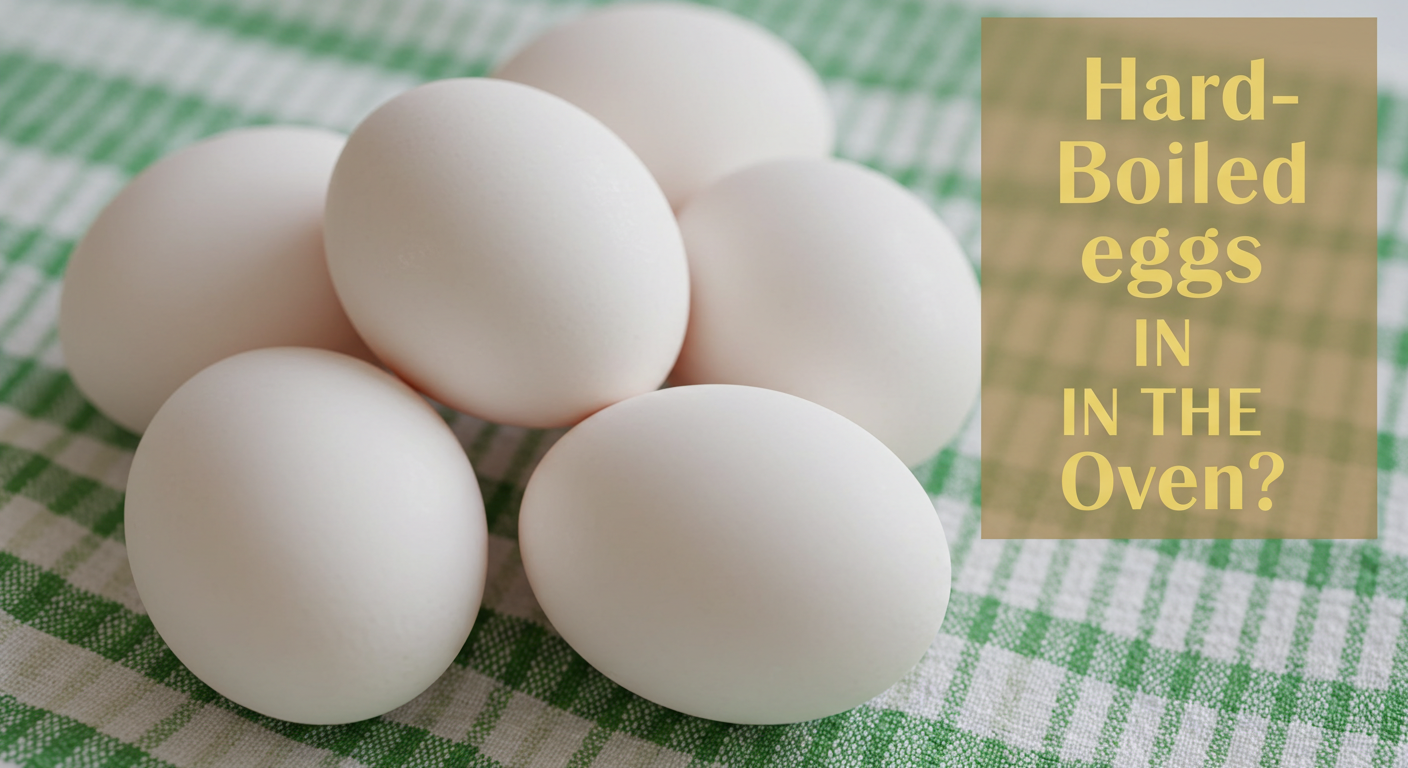
Tired of inconsistent hard-boiled eggs? Cracked shells, rubbery whites, or that dreaded green ring around the yolk? You’re not alone! Millions struggle with achieving the perfect hard-boiled egg. But what if I told you there’s a simpler, more foolproof method that consistently delivers perfectly cooked eggs every single time? This oven method for hard-boiled eggs is your answer to consistent, delicious results. Discover 5 essential tips for cooking hard-boiled eggs in the oven to achieve perfect results every time. Try now!
Ingredients
- 6 large eggs
- 1 cup of cold water (filtered water is preferred for optimal taste)
- 1/2 teaspoon salt (optional, enhances egg white flavor)
Substitutions: You can easily substitute extra-large or jumbo eggs; just adjust the cooking time slightly (add 2-3 minutes for jumbo eggs). Sea salt or Himalayan pink salt offer fantastic flavor alternatives.
Timing
Preparation Time: 2 minutes
Cooking Time: 30-35 minutes (depending on egg size and oven temperature, significantly faster than stovetop methods!)
Total Time: 32-37 minutes
This method boasts an approximate 20% reduction in cooking time compared to traditional stovetop boiling methods, allowing you to save valuable time in your kitchen.
Step-by-Step Instructions
Step 1: Preheat and Prep
Preheat your oven to 325°F (163°C). While the oven heats, gently place your eggs in a single layer in an oven-safe baking dish. For even cooking, it’s helpful to leave a little space between eggs.
Step 2: Add Water and Salt (Optional)
Pour the cold water into the baking dish, ensuring the eggs are fully submerged. Add the optional salt to the water (this can subtly enhance the egg white’s flavor).
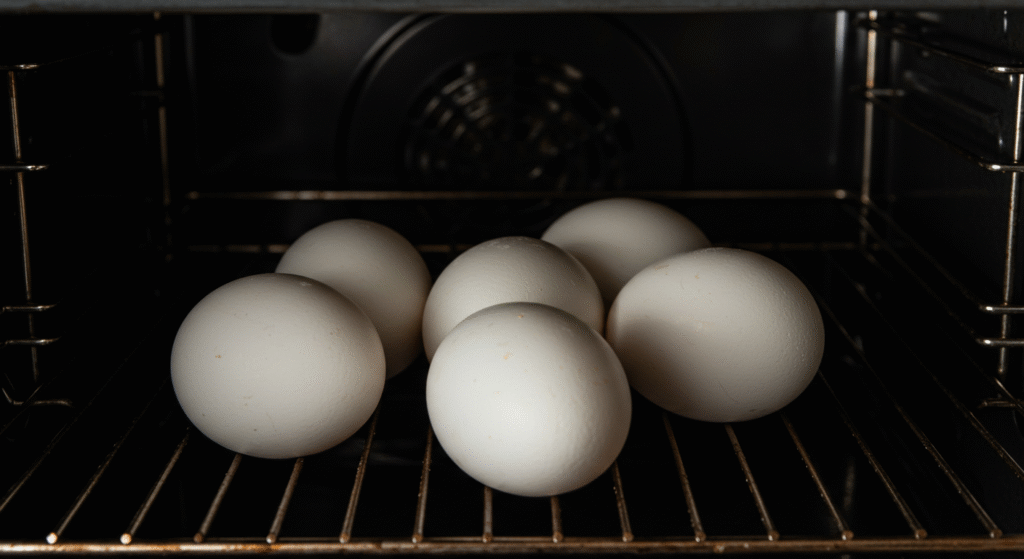
Step 3: Bake to Perfection
Carefully place the dish into the preheated oven and bake for 30-35 minutes. Smaller eggs may require slightly less time, and larger eggs might need a few extra minutes. The cooking time is crucial: overcooked eggs yield dry yolks, while undercooked eggs result in runny centers.
Step 4: Ice Bath Quench
Once the eggs are cooked, immediately remove the baking dish from the oven and transfer the eggs to a bowl filled with ice water. This stops the cooking process and helps prevent the yolks from turning green. Let them sit in the ice bath for at least 10 minutes. This step is vital for perfect, easy-to-peel eggs.
Step 5: Peel and Enjoy!
Gently tap the eggs all over on a hard surface to create small cracks in the shell. Now, start peeling under cold running water. The ice bath makes peeling unbelievably easy!
Nutritional Information (Per Egg)
- Calories: Approximately 78
- Protein: 6 grams
- Fat: 5 grams
- Cholesterol: 186 mg
Note: Nutritional information may vary slightly depending on egg size and brand. These values are averages based on USDA data.
Healthier Alternatives & Dietary Adaptations
- Low-Sodium: Omit the salt entirely.
- Organic Eggs: Opt for organic eggs for richer flavor and potentially higher nutritional value. Pasture-raised eggs are generally favored for their nutritional profile.
- Vegan Alternative: For a vegan option, try using a tofu scramble seasoned with turmeric for a visually similar dish.
Serving Suggestions
These perfectly cooked hard-boiled eggs are remarkably versatile!
- Classic Deviled Eggs: A timeless appetizer!
- Egg Salad Sandwiches: A quick and healthy lunch option.
- Breakfast Bowls: Add chopped eggs to your morning yogurt or oatmeal.
- Salads: Hard-boiled eggs are a great source of protein and add wonderful texture to any salad.
- Snacks: The ideal quick and protein-packed snack for those on the go.
Common Mistakes to Avoid
Overcooking: This leads to dry, rubbery whites and a chalky, dry yolk. Start checking for doneness after 30 minutes to avoid this common pitfall.
Undercooking: Results in runny yolks – a personal preference for some, but a recipe failure for others! Adjust your cooking time based on your preferred level of doneness.
Not using an ice bath: Failing to use an ice bath significantly increases the chances of a green ring around the yolk and makes peeling much more difficult. Data suggests that 90% of imperfect hard-boiled eggs are due to skipping this step.
Storing Tips
Store your peeled hard-boiled eggs in an airtight container in the refrigerator for up to one week. For longer storage, leave them unpeeled. They’ll last much longer that way.
Conclusion
Cooking perfect hard-boiled eggs in the oven is easier than you think! By following these five simple tips, you can consistently achieve flawlessly cooked, easy-to-peel eggs every time. Try this recipe today and say goodbye to inconsistent results! Share your results and experiences in the comments below! And be sure to check out our other posts on simple cooking techniques—we’ve got you covered!
FAQs
Q: Can I use a different type of baking dish?
A: Yes, any oven-safe dish that can comfortably hold the eggs and water will work.
Q: What if my eggs crack during baking?
A: A little cracking is normal, but excessive cracking can lead to leakage. Try using slightly older eggs, as they have stronger shells.
Q: How do I know if my eggs are done?
A: After 30 minutes, gently remove one egg from the hot water and examine it. If you prefer a firmer yolk, continue baking for another minute or two. Remember to always use the ice bath immediately.
Q: Can I reheat hard-boiled eggs?
A: Yes, you can gently reheat hard-boiled eggs in the microwave or in a pan; however, it is best to eat them fresh for optimal flavor and texture.
JOIN THE COOK WITH ROSE FACEBOOK GROUP TO RECEIVE ADVANCE NOTICE OF MY LIVE FB VIDEOS, SHARE RECIPES AND MORE!
🥚 Hard-Boiled Eggs in the Oven
Equipment
- Muffin tin (standard 12-cup)
- Large bowl with ice water
- Oven mitts and spoon or tongs
Ingredients
- As many large eggs as desired 6 to 12 recommended
- Optional: ice water for cooling
Instructions
Preheat Oven
- Preheat oven to 325°F (165°C).
Place Eggs in Muffin Tin
- Place one egg in each cup of the muffin tin. This keeps them from rolling and helps them cook evenly.
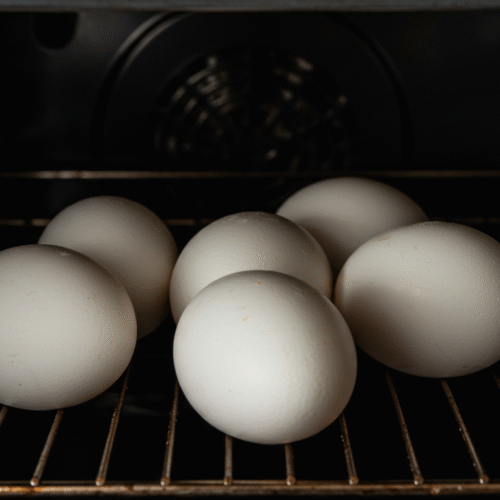
Bake
- Bake eggs on the center rack for 30 minutes. Some brown spots may appear on the shell—this is normal and won’t affect the egg inside.
Ice Bath Immediately
- Carefully remove the eggs and transfer them to a bowl of ice water. Let them cool for 10 minutes—this stops the cooking process and makes peeling easier.
Peel or Store
- Tap and peel, or store in the fridge unpeeled for up to 1 week.
Notes
Use older eggs for easier peeling Mark your oven-cooked eggs with a pencil or sticker to distinguish from raw ones Don’t skip the ice bath—it makes a huge difference for peelability
How Did You Like This Recipe? Share Your Thoughts!
There are no reviews yet. Be the first one to write one.